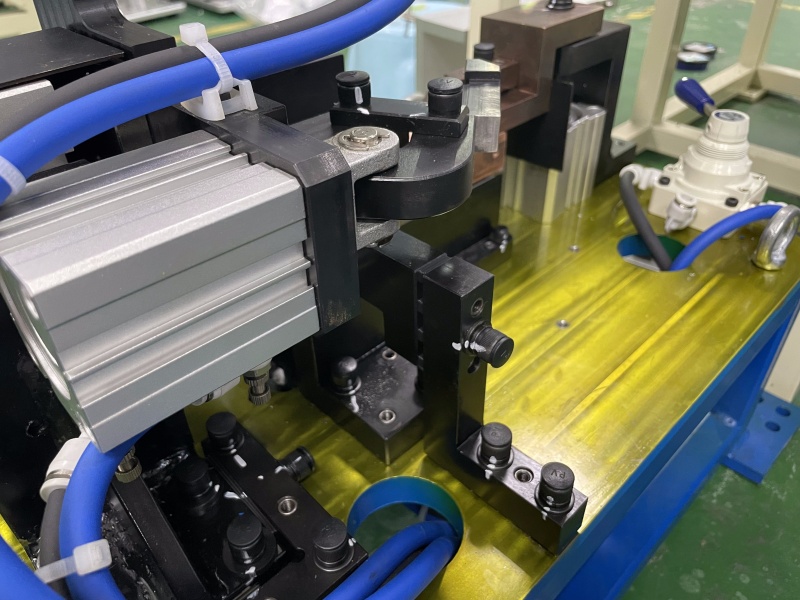
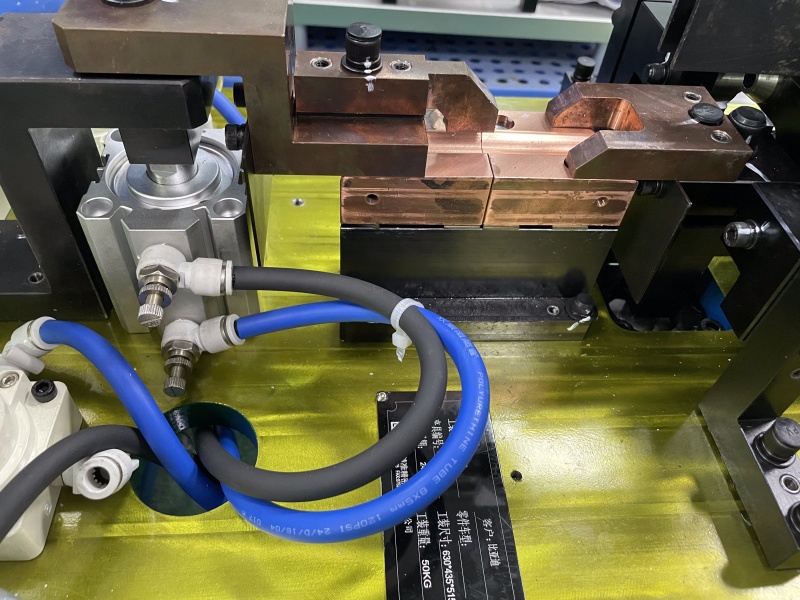
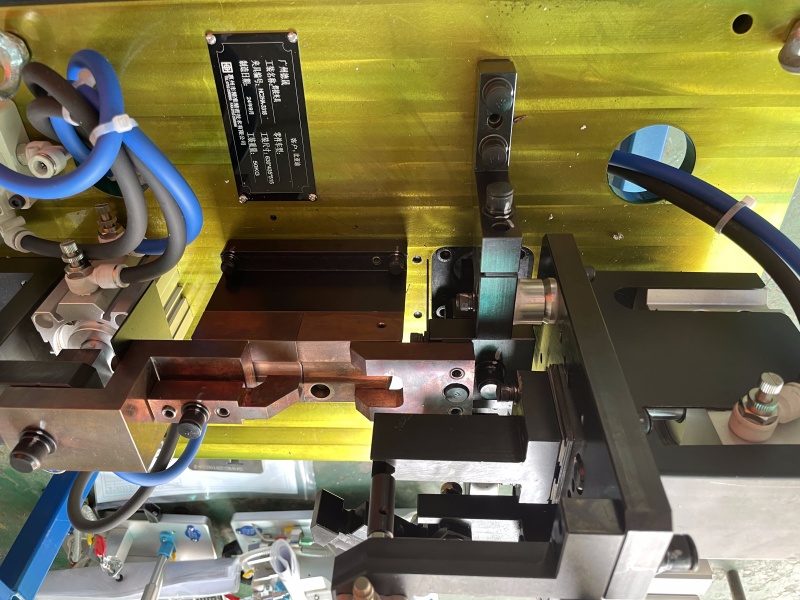
Custom Automotive Inspection Fixtures are specialized, tailor-made testing tools designed to meet the specific requirements of automotive manufacturers or component suppliers. They are used during production to verify dimensional accuracy, assembly fit, and functional integrity of critical automotive parts, such as body panels, engine components, chassis parts, and more.
Custom Automotive Inspection Fixtures for Precision Assembly Lines
Categories of Custom Automotive Inspection Fixtures:
Dimensional Inspection Fixtures:
- Verify geometric tolerances (e.g., hole diameter, contour accuracy) with micron-level precision.
Functional Test Fixtures:
- Simulate assembly/operating conditions to validate performance of electronic & mechanical components (e.g., sensors, hinges).
Automated Inspection Systems:
- Robot-integrated with machine vision for multi-station quality control, enabling real-time data traceability.
Modular Flexible Fixtures:
- Reconfigurable designs support rapid model changeovers, reducing production line conversion costs.
Key Features:
Customized Design
- Developed based on customer-provided CAD data or reverse-engineered from physical samples to ensure 100% geometric conformity with the measured parts.
High-Precision Manufacturing
- CNC-machined with critical tolerances controlled within ±0.02mm, meeting stringent automotive quality inspection standards.
Modular Structure
- Enables rapid detection module replacement to accommodate mixed-model production lines, enhancing manufacturing flexibility.
Smart Integration
- Advanced fixtures equipped with sensors and data acquisition systems can generate real-time inspection reports and interface with MES systems.
Typical Application Scenarios:
Stamped Component Inspection
- Validates post-forming dimensional consistency of automotive body panels (e.g., doors, hoods).
BIW Welding Deformation Testing
- Measures structural deviations in Body-in-White assemblies caused by welding thermal stress.
Powertrain Alignment Verification
- Ensures coaxial accuracy between engine and transmission assemblies during final installation.
Automotive Sensor Validation
- Tests functionality and environmental resilience of onboard sensors under extreme conditions.
How to Define Automotive Inspection Fixture Requirements
Quality Data Analysis
- Analyze production defect patterns (e.g., dimensional deviations, assembly misalignment) to identify high-frequency issues and prioritize inspection targets.
Component Characterization:
- Determine fixture accuracy (±0.02mm), actuation method (pneumatic/hydraulic), and structural rigidity based on part dimensions, material properties, and tolerance specifications.
Process Compatibility Assessment:
- Select manual inspection stations or automated in-line systems by evaluating production line cycle time and automation level, ensuring seamless MES (Manufacturing Execution System) integration.
Standard Compliance Verification
- Validate against customer technical specifications and industry certifications (e.g., IATF 16949, GD&T standards).
Supplier Co-Development:
- Provide physical samples or 3D CAD models to collaboratively design validation protocols with fixture manufacturers, refining inspection logic through prototype iterations.
Packaging Options:
- To protect your investment during shipping, we offer customizable packaging solutions:
- Samples: Packaged in plastic or wooden boxes for secure delivery.
- Stamping Dies: Secured with wooden plates or customized as per customer requirements to ensure safe transportation.
| P&A Accurate Technology Co., ltd. | |
| Second Floor No. 1 Fengyuan Road, Chenjiang Street, Zhongkai High-tech Zone, Huizhou | |
| 0752-2090655 | |
| 13413175198 | |
| sales@jztester.com | |
| www.jztester.com |

 Download PDF


